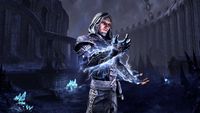
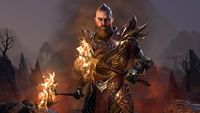
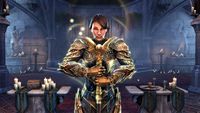
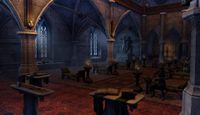
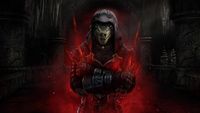
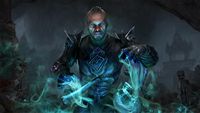
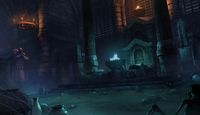
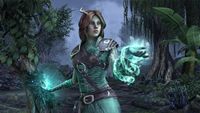
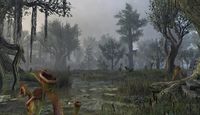
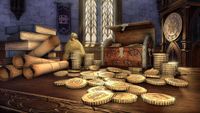
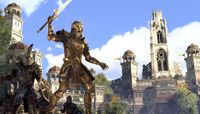
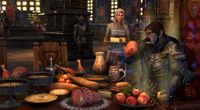
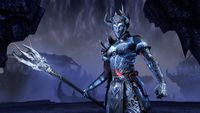
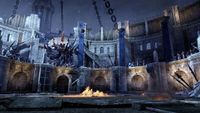
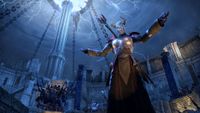
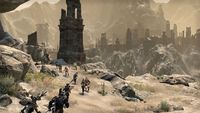
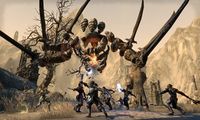
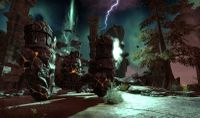
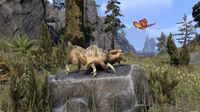
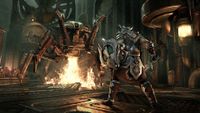
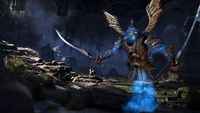
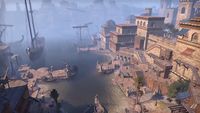
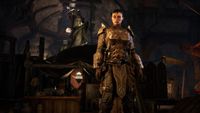
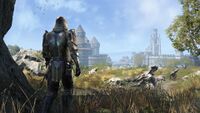
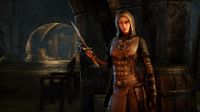
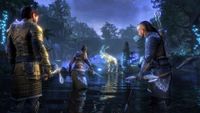
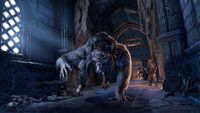
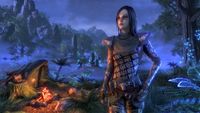
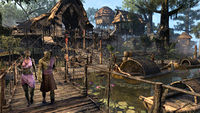
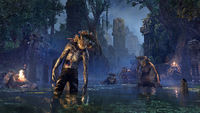
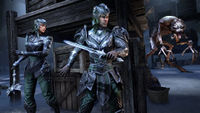
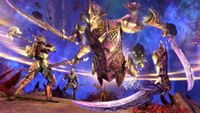
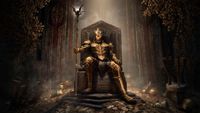
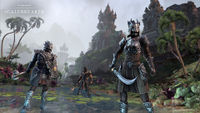
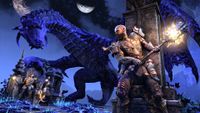
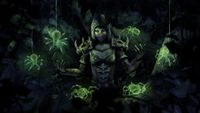
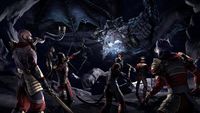
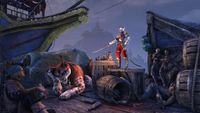
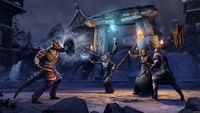
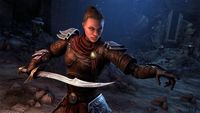
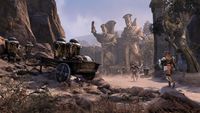
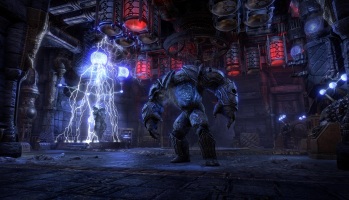
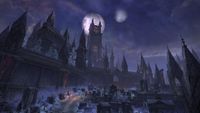
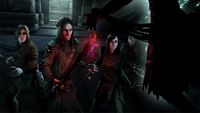
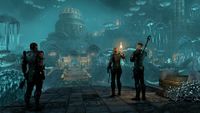
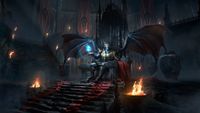
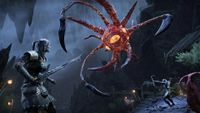
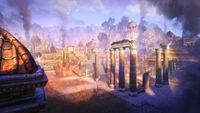
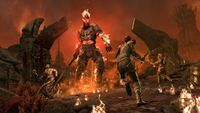
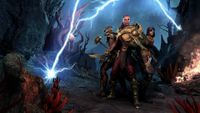
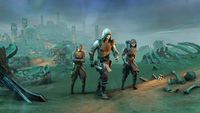
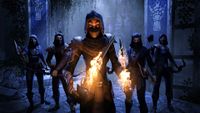
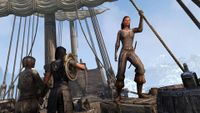
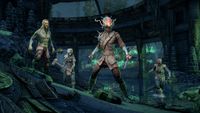
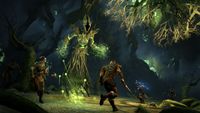
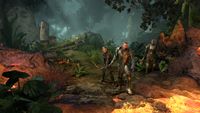
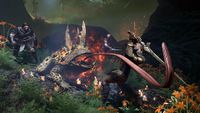
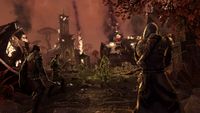
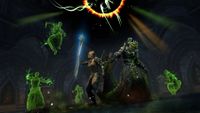
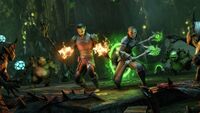
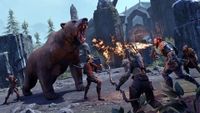
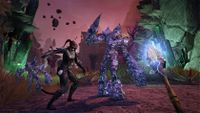
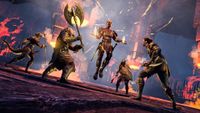
This page contains promotional renders created to market the game and show off new features. As opposed to in-game screenshots, promotional renders typically feature a 3D model posed in an in-game environment, in-engine or otherwise.
Event RendersEdit
Other RendersEdit
Update RendersEdit
This section contains images related to ESO's updates, as well as events and promotions. The full gallery can be found here, and is quite extensive.
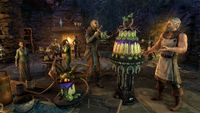
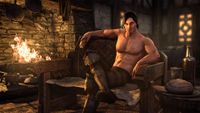
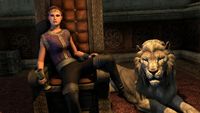
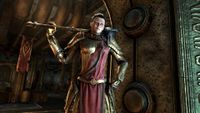
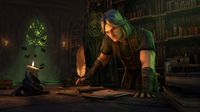
Darien Gautier holding a piece of bread by the fire
Imperial CityEdit
This section contains images pertaining to the Imperial City DLC. The full gallery can be found here.
CraglornEdit
This section contains images pertaining to the Craglorn Update. The full gallery can be found here.
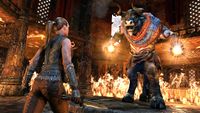
OrsiniumEdit
This section contains images pertaining to the Orsinium DLC. The full gallery can be found here.
Thieves GuildEdit
This section contains images pertaining to the Thieves Guild DLC. The full gallery can be found here.
Dark BrotherhoodEdit
This section contains images pertaining to the Dark Brotherhood DLC. The full gallery can be found here.
Shadows of the HistEdit
Horns of the ReachEdit
This section contains images pertaining to the Horns of the Reach DLC. The full gallery can be found here.
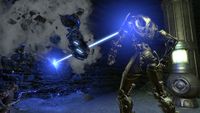
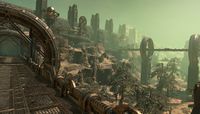
Clockwork CityEdit
This section contains images pertaining to the Clockwork City DLC. The full gallery can be found here.
Dragon BonesEdit
This section contains images pertaining to the Dragon Bones DLC. The full gallery can be found here.
WolfhunterEdit
This section contains images pertaining to the Wolfhunter DLC. The full gallery can be found here.
MurkmireEdit
This section contains images pertaining to the Murkmire DLC. The full gallery can be found here.
WrathstoneEdit
This section contains images pertaining to the Wrathstone DLC. The full gallery can be found here.
ScalebreakerEdit
This section contains images pertaining to the Scalebreaker DLC. The full gallery can be found here.
DragonholdEdit
This section contains images pertaining to the Dragonhold DLC. The full gallery can be found here.
HarrowstormEdit
This section contains images pertaining to the Harrowstorm DLC. The full gallery can be found here.
StonethornEdit
This section contains images pertaining to the Stonethorn DLC. The full gallery can be found here.
MarkarthEdit
This section contains images pertaining to the Markarth DLC. The full gallery can be found here.
Flames of AmbitionEdit
This section contains images pertaining to the Flames of Ambition DLC. The full gallery can be found here.
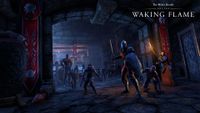
Waking FlameEdit
This section contains images pertaining to the Waking Flame DLC. The full gallery can be found here.
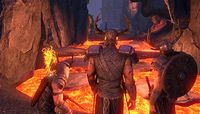
The DeadlandsEdit
This section contains images pertaining to The Deadlands DLC. The full gallery can be found here.
Ascending TideEdit
This section contains images pertaining to the Ascending Tide DLC. The full gallery can be found here.
Lost DepthsEdit
This section contains images pertaining to the Lost Depths DLC. The full gallery can be found here.
FiresongEdit
This section contains images pertaining to the Firesong DLC. The full gallery can be found here.
Scribes of FateEdit
This section contains images pertaining to the Scribes of Fate DLC. The full gallery can be found here.
Infinite ArchiveEdit
This section contains images pertaining to the Infinite Archive. The full gallery can be found here.
Scions of ItheliaEdit
This section contains images pertaining to the Scions of Ithelia DLC. The full gallery can be found here.
Fallen BannersEdit
This section contains images pertaining to the Fallen Banners DLC. The full gallery can be found here.
ChaptersEdit
Morrowind ScreenshotsEdit
This section contains images pertaining to the Morrowind Chapter. The full gallery can be found here.
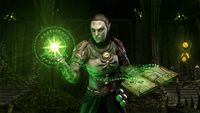
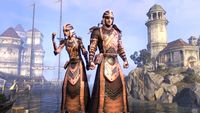
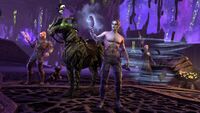
Vivec and two members of Great House Telvanni
Summerset ScreenshotsEdit
This section contains images pertaining to the Summerset Chapter. The full gallery can be found here.
Elsweyr ScreenshotsEdit
This section contains images pertaining to the Elsweyr Chapter. The full gallery can be found here.
Greymoor ScreenshotsEdit
This section contains images pertaining to the Greymoor Chapter. The full gallery can be found here.
Blackwood ScreenshotsEdit
This section contains images pertaining to the Blackwood Chapter. The full gallery can be found here.
High Isle ScreenshotsEdit
This section contains images pertaining to the High Isle Chapter. The full gallery can be found here.
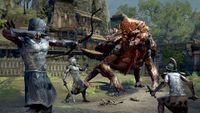
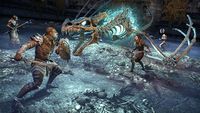
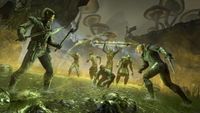
Fighting the Hadolids
Necrom ScreenshotsEdit
This section contains images pertaining to the Necrom Chapter. The full gallery can be found here.
Gold Road ScreenshotsEdit
This section contains images pertaining to the Gold Road Chapter. The full gallery can be found here.
SeasonsEdit
Seasons of the Worm Cult ScreenshotsEdit
This section contains images pertaining to the Seasons of the Worm Cult. The full gallery can be found here.
